Tado installation: DIY or professional?
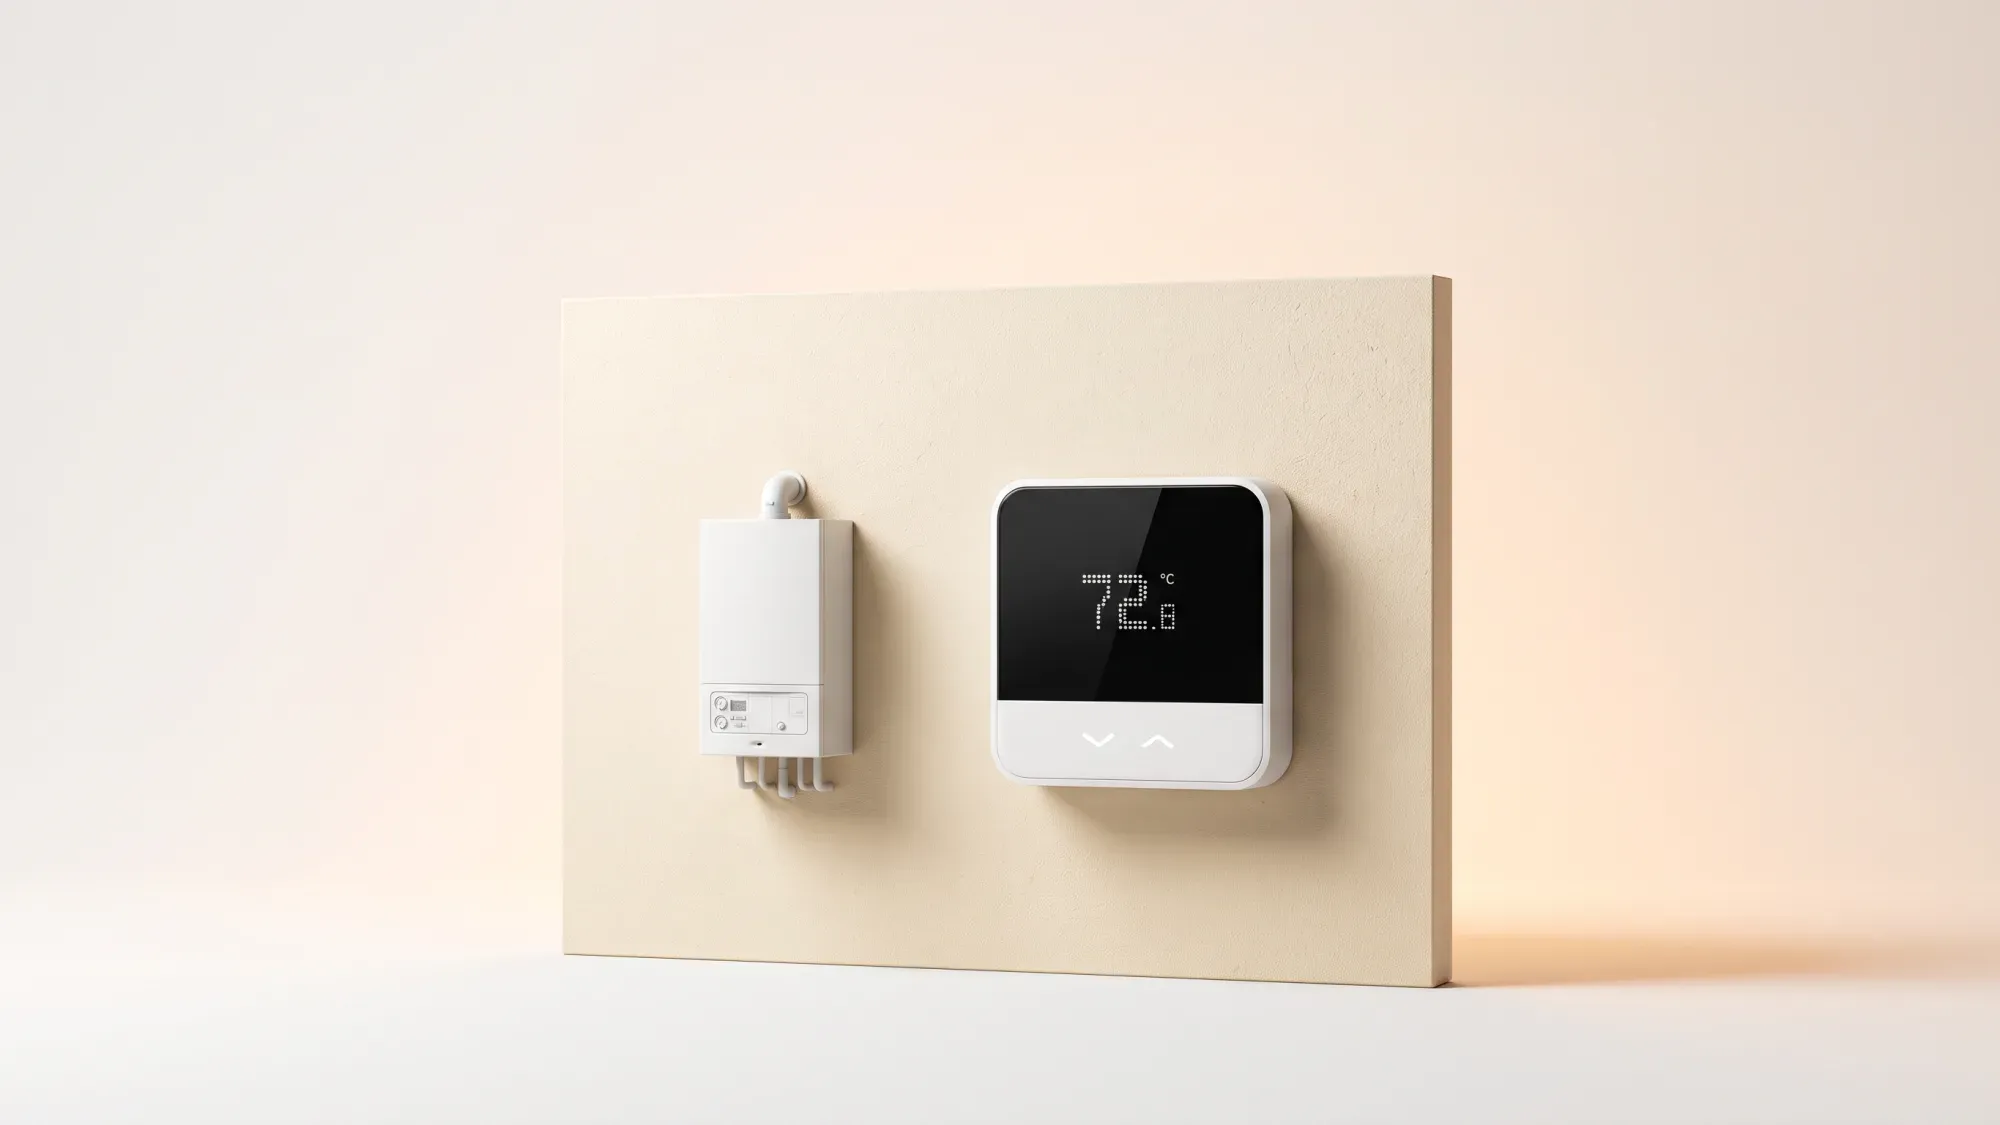
Installing a tado smart thermostat can transform how you manage your home's heating, offering precise control and the potential for significant energy savings. The decision often boils down to whether to tackle the installation yourself or hire a professional. This guide explores both options, outlines the process, and explains how to maximise your tado system's efficiency, especially when integrated with broader energy management tools like the Fuse Energy app.
Installing a tado smart thermostat can significantly improve your home's heating efficiency. Fuse Energy helps you take control of your energy usage, making your smart home even smarter. Click here to switch to Fuse Energy today.
Enter your address to get a quote and see how much you could save
Understanding tado smart thermostat installation
A tado smart thermostat system allows you to control your heating remotely via a smartphone app, set schedules, and even manage individual radiator temperatures. This level of control can lead to a more comfortable home and a more efficient heating system.
What is involved in installing a tado system?
Tado installation typically involves replacing your existing thermostat or integrating new components with your boiler's wiring. The process requires careful attention to electrical connections and a good understanding of your home's heating setup. For many, it's a straightforward DIY task, but for others, the complexity of their existing system or a lack of confidence with wiring makes professional help a sensible choice.
Key components of a tado setup
A comprehensive tado smart heating system often includes several components working together:
- Smart thermostat: This is the main control unit, often replacing your old wired or wireless thermostat. It communicates with your boiler and the tado app.
- Wireless receiver: If you have a wireless thermostat or a combi boiler, a wireless receiver typically connects directly to your boiler to control it.
- Smart radiator thermostats (TRVs): These replace your existing radiator valves, allowing for zone control, meaning you can set different temperatures in different rooms.
- Internet bridge: This connects your tado devices to your home's Wi-Fi router, enabling app control and Internet-based features like weather adaptation.
DIY tado installation: is it for you?
Undertaking a DIY tado installation can save on labour costs and give you a deeper understanding of your heating system. However, it requires a certain level of comfort with basic electrical work and following detailed instructions.
Assessing your skills and heating system
Before you start, assess your DIY experience. Have you successfully tackled similar home improvement projects involving wiring? Consider your heating system type:
- Combi boilers are often simpler to integrate.
- System or conventional boilers with separate hot water tanks might require more complex wiring, especially if you're replacing a programmer.
- Underfloor heating systems can also vary in complexity.
Tado provides specific instructions tailored to many common heating systems, which are accessible through their app during the setup process.
Tools and preparation required
For a DIY tado installation, you'll typically need:
- Screwdrivers (flat-head and Phillips)
- Wire strippers
- A multimeter (useful for checking voltage, though often not strictly necessary if following tado's guides)
- Drill (if new mounting holes are needed)
- Pencil and tape measure
- Your smartphone or tablet for the tado app.
Preparation involves gathering these tools, ensuring you have all components of your tado kit, and familiarising yourself with the general steps before you begin.
Safety considerations for DIY wiring
Electrical work always carries risks. It is crucial to prioritise safety:
- Always ensure the mains power is switched off at the consumer unit (fuse box) before undertaking any wiring work. This is non-negotiable for your safety.
- Double-check all connections against tado's wiring diagrams provided in their app for your specific system.
- In England and Wales, certain electrical installations must comply with Part P of the Building Regulations, which may require notification to your local authority or use of a registered electrician for specific tasks. While replacing a thermostat is often considered minor work, it's always wise to be aware of these regulations.
Professional tado installation: when to call an expert
If you're unsure about wiring, have a complex heating system, or simply prefer peace of mind, professional tado installation is a worthwhile investment.
Benefits of hiring a certified installer
A certified installer brings expertise, ensuring the tado system is wired correctly, configured optimally, and integrated simply with your existing heating setup. They can troubleshoot unexpected issues on the spot and often provide advice on how to get the most out of your new smart heating control. This can prevent potential damage to your boiler or tado equipment from incorrect wiring.
Typical costs for professional installation
The cost of professional installation for a tado thermostat can vary depending on your location and the complexity of your system. Installation fees can range from around £75 to £140, or more for complex setups involving multiple components like smart radiator thermostats. This fee typically covers the labour for installing the main thermostat and wireless receiver.
Finding a reputable tado installer
To find a reputable installer, you can:
- Check tado's official website for recommended installers in your area.
- Look for local electricians or heating engineers with experience in smart thermostat installations.
- Read reviews and ask for quotes from several professionals to compare services and prices.
The tado installation process: a general overview
Whether you go DIY or professional, the installation follows a general sequence of steps to ensure everything is set up correctly.
Pre-installation checks and compatibility
Before any wiring begins, it's essential to:
- Identify your current heating system: Note your boiler type (combi, system, conventional) and existing thermostat/programmer. For more information on boiler types, you might find our article on combi boiler vs system boiler helpful.
- Check tado kit compatibility: Use tado's online compatibility checker or the app to ensure your chosen tado devices work with your heating system.
- Gather existing wiring information: Take photos of your current thermostat's wiring before disconnecting anything. This serves as a useful reference.
Wiring the tado thermostat and receiver
This is the most critical step. The tado app provides detailed, step-by-step instructions tailored to your specific heating system. It will guide you through:
- Disconnecting your old thermostat: Carefully remove the old unit after ensuring the power is off.
- Wiring the tado wireless receiver: This usually connects to your boiler's control terminals.
- Wiring the tado smart thermostat: If it's a wired thermostat, it will connect to the existing thermostat wires. If it's wireless, it will communicate with the receiver.
How difficult is tado installation?
Tado installation difficulty varies. For basic systems, it can be a straightforward DIY task if you're comfortable with simple wiring, guided by the tado app. More complex heating setups, like those with multiple zones or older boilers, may require professional expertise to ensure correct and safe integration.
Setting up the tado app and smart features
Once the hardware is installed and powered on, the final steps involve software setup:
- Download the tado app: If you haven't already, download it from your smartphone's app store.
- Create an account and add your devices: Follow the in-app instructions to pair your tado devices (Internet Bridge, Smart Thermostat, Wireless Receiver, TRVs).
- Configure basic settings: Set up your home location, heating preferences, and initial schedules.
Maximising energy savings with your installed tado system
Installing your tado system is the first step; optimising its features is key to unlocking significant energy savings and enhanced comfort. Smart thermostats can potentially save users up to 20% on heating bills by optimising energy use.
Optimising schedules and geofencing
- Smart schedules: Create detailed heating schedules that match your daily routine. Tado allows for different schedules on different days, ensuring your home is warm when you need it and cooler when you're out or asleep.
- Geofencing: This feature uses your phone's location to detect when you leave or approach home, automatically adjusting the heating to save energy when you're out and warm up before you arrive. Ensure all household members have the tado app installed and geofencing enabled for optimal performance.
- Open window detection: Tado can detect sudden drops in temperature caused by an open window and temporarily turn off the heating in that room to prevent energy waste.
Integrating tado with your home's energy strategy
A tado smart thermostat is a powerful tool for precise heating control, but its true potential for energy efficiency is realised when viewed as part of a broader smart home energy strategy. By giving you granular control over your heating, tado enhances your capability to manage one of the largest energy consumers in your home. The average UK home uses around 9,500 kWh of gas per year for heating, so optimising this usage can lead to substantial savings. Understanding your energy consumption is key, and you can learn more about it in our guide on how to read your energy meter.
How Fuse Energy enhances tado's efficiency
Fuse Energy lets homeowners maximise the energy efficiency and cost-saving benefits of their tado smart thermostat by integrating it with Fuse's smart meter and app for comprehensive energy management. While Fuse Energy does not offer tado smart thermostat installation services or directly retail tado products, it provides the overarching intelligence to make your smart heating even smarter.
By using the Fuse app alongside your tado system, you gain:
- Enhanced capability: Tado gives you precise control over your heating, aligning with Fuse's vision of giving customers more control over their energy. You decide exactly when and where your energy is used.
- Surplus energy savings: Optimising your tado schedules and features with the real-time energy insights from Fuse's smart meter and app can lead to even greater surplus energy savings. You can see how your heating choices impact your overall energy consumption and costs, allowing you to use your energy more effectively and reduce bills.
- A smarter energy system: Position tado as a key component in a broader smart home energy strategy. Fuse provides the overarching intelligence through its app and smart meter, helping you understand your total energy footprint and maximise efficiency across all your home's energy use, not just heating. This helps rebuild your energy system from scratch, making it more responsive and cost-effective.
Take the stress out of managing your energy. With Fuse Energy, you get clear pricing, real-time usage data, 24/7 human customer support, and a modern energy experience designed around you. Signing up takes just a few minutes, so you can take control of your bills from day one. Click here to switch to Fuse Energy today and start saving.
Disclaimer
For the avoidance of doubt, this article is provided for informational purposes only and is not intended to constitute legal or financial advice. The author and/or Fuse Energy shall not be responsible for any losses arising out of any reliance on the information contained herein.